Aircraft gearboxes do a hard job in a cramped space. They transfer power, manage torque, and keep moving parts aligned under constant load. Whether it is a helicopter main gearbox, an intermediate gearbox, or a fixed-wing accessory gearbox, these assemblies are critical to safe operation and expensive to repair when issues escalate. That is why many maintenance teams use remote visual inspection as part of routine checks and troubleshooting. With the right technique, a borescope can reveal early wear patterns, lubrication issues, and surface distress without forcing a teardown. Providers like USA Borescopes support aviation teams with inspection tools that make it easier to document internal conditions and build repeatable inspection routines.
Why Gearbox Inspections Are Critical
Gearboxes are designed to be robust, but they are not immune to damage. Internal wear often develops gradually, and early signs can be easy to miss without visual access. Borescope inspections help maintenance teams spot these signs early, when there is still time to plan the right response.
Gearbox defects can progress quickly under load
A small patch of pitting on a gear tooth can grow into spalling. Minor scoring can worsen if lubrication is compromised. Once surface distress begins, it can accelerate because damaged surfaces generate debris and heat. Early detection helps reduce secondary damage and supports safer decision-making.
Visual evidence strengthens maintenance decisions
Gearbox findings are rarely interpreted in isolation. Engineering, quality, and sometimes OEM guidance may be part of the decision process. Clear images of the affected area reduce ambiguity and help teams agree on whether a condition is acceptable, needs monitoring, or requires action.


Borescopes help reduce unnecessary disassembly
Opening a gearbox can be time-consuming and may introduce additional work such as seal replacement, fluid service, and re-verification. A borescope inspection can often answer the first question faster: is there visible distress that justifies teardown, or does the evidence support continued operation with monitoring?
Preparing for a Gearbox Borescope Inspection
Good technique starts with preparation. A gearbox interior is not a forgiving place for rushed probe movements, and poor documentation can turn a useful inspection into an inconclusive one.
Review the applicable maintenance guidance
Start with the maintenance manual, task card, and any operator-specific inspection procedures. Confirm access locations, inspection points, and any special considerations such as required cleanliness or post-inspection servicing.
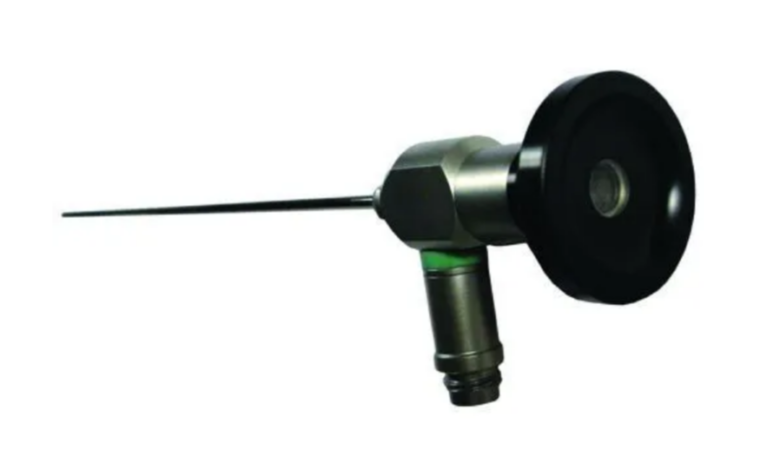
Choose an appropriate probe diameter and length
Access ports and inspection plugs can vary. The probe must fit comfortably without forcing entry. Length should allow you to reach target surfaces without excessive insertion tube stress. For teams comparing inspection configurations and accessories, the USA Borescopes products page can be a useful reference for common probe options used in aviation environments.
Confirm lighting and image capture before insertion
Gearbox interiors often include reflective machined surfaces and oil residue that can create glare. Test illumination settings and verify that still capture and video recording are working. A clear baseline image at the start of the task can confirm that the system is set correctly.
Establish a repeatable inspection plan
Decide in advance what you will inspect and in what order. Repeatability is a major advantage of borescope work. A consistent route and scan pattern makes it easier to compare findings across inspection intervals and reduces missed areas.
Step-by-Step Borescope Techniques for Gearbox Inspections
The goal is controlled navigation, thorough coverage, and documentation that can stand up to review. The steps below reflect common best practices across helicopter and fixed-wing gearbox inspections.
Step 1: Plan your access and protect the inspection point
Before inserting the probe, verify the access opening is clean and free of debris. If the port area is contaminated, it is easy to introduce foreign material into the gearbox. Use appropriate cleaning methods per procedure, and confirm you have enough clearance to insert without scraping the probe against threads or sharp edges.
If the inspection requires removing a plug or screen, document what was removed and ensure the work area is controlled. Even small objects dropped near an open port can become a serious issue.
Step 2: Start with a slow, stabilized entry
Insert the probe slowly and avoid abrupt movements. In gearbox interiors, small contact points can scratch surfaces or damage the probe tip. A slow entry also allows the camera to adjust to lighting conditions and helps the inspector orient the view.
A practical technique is to pause shortly after entry and capture a reference image showing the immediate interior view. This image helps confirm orientation and can be useful later when mapping where findings were located.
Step 3: Use a structured scan pattern to cover critical surfaces
A structured scan pattern reduces missed inspection zones. Many teams use a clockwise or stage-by-stage approach, depending on gearbox layout. The exact pattern will vary, but the concept stays the same: cover the highest-risk areas first, then expand outward.
Common targets include:
- Gear tooth flanks and roots
- Bearing surfaces that are visible through openings
- Housing interiors where debris can collect
- Seal regions and oil tracking areas
- Spline interfaces where accessible
When inspecting gear teeth, try to capture multiple teeth in sequence. A single damaged tooth can be meaningful, but pattern damage across several teeth often tells a clearer story about load alignment or lubrication condition.
Step 4: Manage lighting to avoid glare and false calls
Oil film and machined surfaces can reflect light directly into the camera. If glare washes out detail, reduce illumination and change the camera angle slightly. It can also help to capture two images of the same area using different lighting levels, one for overall context and one for surface texture.
If an indication appears suspicious, confirm it from at least two angles. A reflection or residue streak may disappear or shift with angle changes. A true defect will remain consistent relative to the surface geometry.
Step 5: Inspect for wear patterns and what they imply
Gearboxes rarely fail without leaving clues. Borescope inspections are valuable because they reveal not only damage but also the story behind it.
Look for:
- Pitting and spalling on gear teeth
- Scoring or scuffing that suggests lubrication breakdown
- Heat discoloration that may indicate friction or abnormal load
- Debris accumulation in corners and low points
- Surface roughness or flaking that suggests material distress
Wear patterns matter as much as severity. For example, localized pitting in one area of a tooth may suggest load concentration or alignment issues. Widespread surface distress may indicate lubrication contamination or a systemic condition.
Step 6: Capture documentation that can be reviewed and repeated
A gearbox borescope inspection is often reviewed by someone who was not present. Documentation should make the finding easy to locate and interpret.
A strong image set usually includes:
- One wider image showing the location context
- One close-up image showing defect detail
- A short video sweep if orientation is complex
- Notes on access point, suspected location, and lighting conditions
Avoid over-zooming to the point where the image loses clarity. It is better to capture both context and detail rather than relying on a single tight shot that is hard to place.
Common Gearbox Issues to Watch For
While every platform has its own typical wear profile, several issue types appear frequently in aviation gearbox inspections.
Pitting and early spalling
Pitting often appears as small surface cavities. If it progresses, it can become spalling, where larger pieces of surface material detach. These conditions can produce debris and accelerate wear in surrounding components.
Scoring and scuffing
Scoring can look like directional lines or grooves. Scuffing may appear as smeared or torn surface texture. Both can point to lubrication concerns, contamination, or abnormal contact conditions.
Heat distress indicators
Heat distress may show up as discoloration or changes in surface finish. While some discoloration can be normal depending on location, unusual patterns should be documented carefully and assessed in context with oil analysis, chip detectors, and operational history.
Debris accumulation and contamination signs
Metal flakes, sludge-like buildup, or unusual residue patterns can be important. Even if the gear surfaces look acceptable, debris evidence can suggest a developing issue elsewhere in the assembly.
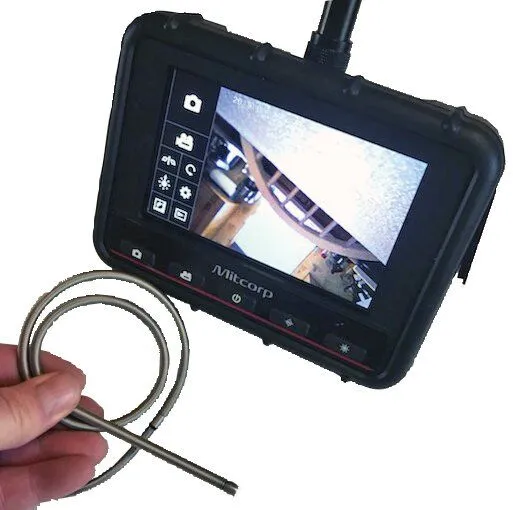
Selecting Inspection Equipment That Fits Gearbox Work
Gearbox inspections typically require a tool that can handle tight access and provide reliable surface detail under challenging lighting. Probe diameter, articulation response, and image clarity tend to matter most.
Teams that perform gearbox inspections regularly often benefit from a configuration that supports repeatable documentation and stable viewing. Reviewing available aviation inspection tools through the USA Borescopes product catalog can help maintenance organizations compare the practical features that affect gearbox inspection success.
Better Technique Creates Better Decisions
A borescope can be one of the most effective tools for gearbox condition assessment, but the value comes from the technique. Controlled insertion, structured scan patterns, smart lighting adjustments, and clear documentation help maintenance teams identify early wear, reduce uncertainty, and make decisions based on visual evidence rather than assumptions.
Gearbox inspections place unique demands on probe control, image clarity, and measurement repeatability. USA Borescopes offers aviation-focused inspection solutions that help maintenance teams improve inspection consistency and documentation quality in these environments. Maintenance organizations that want guidance on selecting the right setup for gearbox inspection needs can contact USA Borescopes to discuss options.
About the Author
The author is an aviation inspection specialist with extensive experience in gearbox condition assessment and remote visual inspection techniques. They focus on practical inspection workflows, defect recognition, and documentation standards that improve repeatability across maintenance teams. Their guidance is independent and based on real maintenance environments where accuracy and clarity matter.